

Overview: A winning listing presentation checklist centers on three moves — pre-listing intelligence gathered the night before, a three-scenario pricing narrative you can defend at the table, and a 14-day launch plan that signals execution from minute one. Nail those three, and you walk into every appointment with the credibility to sign on the spot.
Here is what to lock in before you arrive:
- Night before: Pull ownership history, permit records, MLS history, and several annotated comps from your local MLS. Scan the seller’s LinkedIn or social profiles for motivation signals. Pre-fill the listing agreement with every field you already know.
- Morning of: Print a one-page CMA, a net-proceeds sheet with three pricing scenarios, and your marketing one-pager. Do a 10-minute mock run-through out loud — alone or with a teammate.
- First 15 minutes: Open with discovery, not your bio. Ask two or three questions about the seller’s timeline and motivation before you touch a single slide. NAR research consistently shows that sellers choose agents they trust, and trust starts with listening.
Plo’s automation platform can assemble that pre-listing file in a fraction of the time it takes manually, so you spend your prep hours on the human work: rapport, discovery, and objection handling.
Table of Contents
- Why does a listing presentation checklist win more listings?
- What to do before the appointment: your prep checklist
- What to bring to every listing appointment
- How to run the presentation: agenda, discovery questions, and scripts
- How to present pricing and the three-scenario CMA
- What should your marketing plan include?
- What to do after the appointment: the follow-up checklist
- The 2026 pricing narrative and automation workflow
- Key Takeaways
- Plo gives you the prep workflow without the manual assembly
Why does a listing presentation checklist win more listings?
Consistency is the hidden variable most agents underestimate. A seller meeting three agents in one weekend will remember the one who arrived with a pre-filled agreement, a net sheet with three scenarios, and a specific 14-day launch calendar. The other two showed up with a deck and a handshake.
Checklists do three things for your conversion rate. They eliminate the small errors that erode credibility (wrong address on the agreement, a comp from 18 months ago, a vague “we’ll get professional photos” promise). They compress the seller’s decision timeline because every question they were about to ask is already answered on paper. And they signal operational discipline, which is exactly what a seller wants from the person managing their largest financial transaction.
Speed of follow-up matters. Research from HousingWire shows that agents who send a pre-listing packet before the appointment, rather than arriving empty-handed, consistently report higher sign-rates and fewer post-listing price disputes.
Pro Tip: Bring a pre-populated net sheet to the table. Sellers who can see their estimated proceeds in three scenarios before you ask for the listing are far more likely to sign the same day. It removes the “I need to think about it” pause.

What to do before the appointment: your prep checklist

Great listing appointments are won the night before. The agents who consistently sign at the table are not more charming — they are more prepared. Here is the exact sequence.
Night-before tasks
- Pull ownership and deed records. Confirm the current owner of record, purchase price, and any recorded liens or open permits. Public records via your county assessor’s site take under five minutes and pre-answer the seller’s “what do you think we owe?” question.
- Run MLS history back 5–10 years. Check for prior listings, expired contracts, and price reduction patterns. A pre-listing intelligence file that includes permit history, prior listing behavior, and the seller’s purchase price dramatically improves your credibility at the table.
- Pull several sold comps. Same neighborhood, within 10–15% of the subject’s square footage, sold within 90 days (extend to 180 only if the market is thin). Annotate each with a one-line relevance note: “Similar kitchen renovation, sold 12 days, $12/sq ft above list.”
- Scan the seller’s social profiles. LinkedIn, Facebook, or Instagram often surface relocation signals, job changes, or family milestones that tell you the real motivation behind the sale. That context shapes your discovery questions.
- Send a pre-listing questionnaire. A short, high-signal questionnaire sent immediately after the lead is confirmed surfaces motivation, property details, and timeline expectations that feed directly into your CMA and marketing plan. Automating this step alone can cut your assembly time significantly.
- Pre-fill the listing agreement. Every field you can complete from public records — address, legal description, seller names, property tax ID — should already be filled in. Blank agreements feel like homework; pre-filled agreements feel like momentum.
Morning-of tasks
- Print your one-page CMA with the annotated comps. One page. Not a 22-slide PDF.
- Print three net-proceeds scenarios (aggressive, market-aligned, aspirational) with estimated closing costs and net to seller for each.
- Confirm logistics. Address, parking, gate codes, and whether both decision-makers will be present.
- Do a Street View drive-by. Check for visible deferred maintenance, landscaping, or curb-appeal issues you will need to address diplomatically.
- Run a 10-minute mock role-play. Agents who practice a mock run-through the morning of the appointment report greater confidence and handle emotional seller responses more effectively. Say the pricing scenarios out loud. Rehearse the moment you ask for the listing.
Pro Tip: The mock run-through is not about memorizing lines. It is about shifting your brain from “what do I need to say?” to “what does this seller need to hear?” Those are different questions, and the second one wins listings.
What to bring to every listing appointment
Think of your bag as a closing kit. Every item either builds credibility, shortens the path to signature, or handles an objection before it is raised.
Physical items
- One-page CMA with 5–8 annotated comps (printed, clean, no staples)
- Net-proceeds sheet with three pricing scenarios and estimated closing costs
- Marketing one-pager: channels, timeline, and metrics you will report
- Agent bio and sales sheet (visual, one page, recent sales highlighted)
- Pre-filled listing agreement and required state disclosures
- Two pens and a clipboard (never ask a seller to hunt for a pen)
- Staging checklist or pre-listing prep guide for the seller to keep
Digital items
- Tablet or laptop with your appointment-ready presentation deck
- Live MLS access to pull real-time comps if the seller challenges your numbers
- Links to virtual tour examples relevant to their price point — virtual tours measurably impact buyer engagement and showing velocity
- High-resolution photography examples from comparable listings you have sold
- Your property listing optimization guide or a summary of your MLS and digital syndication strategy
Pre-listing packet to leave behind or email
- Editable net-proceeds sheet (PDF or Google Sheet)
- Marketing timeline with specific dates and deliverables
- Three pricing scenarios with DOM estimates and buyer pool descriptions
- Testimonials or case studies from sellers in the same neighborhood or price range
- Your contact card with a direct calendar link for follow-up
The pre-filled listing agreement is the single highest-leverage item in this kit. Sellers who see a completed agreement on the table understand that signing is the natural next step, not a big decision.
How to run the presentation: agenda, discovery questions, and scripts
A listing appointment is a conversation with a structure, not a pitch with a Q&A at the end. The agents who sign at the table spend the first third of the meeting listening, not presenting.
Recommended agenda
| Time Block | Focus | Goal |
|---|---|---|
| Initial minutes | Rapport and seller goals | Surface motivation, timeline, and decision-makers |
| Next portion | Property walkthrough + comps | Build credibility; note condition factors |
| Middle segment | Pricing narrative and marketing plan | Present scenarios; walk through launch plan |
| Later segment | Objections and close | Handle pushback; ask for the listing |
| Final minutes | Next steps | Confirm sign or follow-up date; leave packet |
Discovery questions to ask every seller
Motivation and timeline
- “What is driving the decision to sell right now?”
- “Is there a date by which you need to be out of the property?”
- “Where are you moving, and does that timeline affect your pricing flexibility?”
Prior selling history
- “Have you sold a home before? What did that experience teach you?”
- “Has this property been listed before? What happened?”
Decision-makers and terms
- “Who else is involved in the decision to list?”
- “Are there any terms — price, closing date, possession — that are non-negotiable for you?”
Sample scripts
Opening the meeting:
“Before I show you anything, I want to make sure I understand your situation. Can you tell me what prompted the decision to sell now, and what a successful sale looks like for you?”
Handling an unrealistic price expectation:
“I hear you, and I want to get you every dollar the market will support. Here is what the data shows: at [aspirational price], we are likely looking at [X] days on market and a real risk of an appraisal gap. At [market-aligned price], we attract a larger buyer pool and typically see offers within [Y] days. I want to walk you through all three scenarios so you can decide which risk profile fits your situation.”
Asking for the listing:
“Based on everything we have discussed, I am confident I can execute this plan and get you to the closing table on your timeline. I have the agreement ready — can we move forward today?”
Scripts for difficult moments like commission pushback and price objections follow the same principle: acknowledge the concern, anchor to data, and redirect to the seller’s stated goal.
Role-play checklist: objections to rehearse
- “Your commission is too high.”
- “We want to try [higher price] first and reduce later.”
- “We are also interviewing two other agents.”
- “We might just sell it ourselves.”
- “Can you guarantee a sale price?”
For each objection, your pre-listing intelligence file should already contain the data to answer it. If you know the seller paid $340,000 four years ago and the market-aligned price is $480,000, the “we want to try higher” conversation is much easier to navigate with a net sheet already on the table.
How to present pricing and the three-scenario CMA
The single biggest shift in 2026 listing presentation best practices is moving away from a single CMA number toward a defensible pricing narrative. Three scenarios give the seller agency, build trust, and actively manage expectations before the listing goes live.
Example CMA comp table
| Address | Sale Price | $/Sq Ft | Days on Market | Relevance Note |
|---|---|---|---|---|
| — | — | — | 8 | Renovated kitchen, same school district |
| — | — | — | 22 | Original baths, larger lot |
| — | — | — | 5 | New roof and HVAC, priced aggressively |
| — | — | — | — | Dated finishes, reduced twice |
| — | — | — | 14 | Most comparable overall |
Pull 5–8 sold comps from the same neighborhood, annotated with a one-line relevance note for each. A long comp dump without context reads as data, not analysis. Annotated comps read as expertise.
Three-scenario pricing narrative
| Scenario | List Price | Expected DOM | Buyer Pool | Appraisal Risk |
|---|---|---|---|---|
| Market-aligned | — | 7–14 days | Broad; multiple offers likely | Low |
| Aspirational | — | a range of days on market | Narrower; price-sensitive buyers exit | Moderate to high |
| ⚡ Aggressive | — | 3–7 days | Maximum; likely above-list offers | Very low |
The aspirational scenario requires explicit appraisal risk language. Top agents include the probability of needing a price reduction when presenting higher price scenarios, which protects their credibility and the seller’s equity.
Pro Tip: Use this scripted line for appraisal risk: “At $499,000, there is a real possibility the appraisal comes in short. If that happens, the buyer either makes up the gap in cash or we renegotiate. I want you to know that going in, so it is not a surprise at the table.” That one sentence prevents more post-listing friction than almost anything else you can say.
For a deeper walkthrough on building and annotating comps, the comparative market analysis guide covers the methodology in detail.
What should your marketing plan include?
Sellers do not just want a price. They want to know how you are going to find the buyer. A one-page marketing plan presented at the listing appointment answers that question before they ask it.
Sample marketing one-pager: key components
- Photography and video: Professional shoot scheduled within 48 hours of signing; drone footage for lots over 0.25 acres; 3D virtual tour for listings above $600,000
- MLS timing: Live within 72 hours of photo delivery; syndicated to Zillow, Realtor.com, and Redfin automatically
- Paid digital ads: Facebook and Instagram campaigns launched day one of MLS go-live; Google Display ads targeting in-market buyers in feeder zip codes
- Agent-to-agent outreach: Email blast to top 50 buyer’s agents in the market within 24 hours of going live
- Open house: Broker tour in week one; public open house in week two
- Email marketing: Announcement to your buyer database and sphere within 24 hours of MLS activation
The 14-day launch timeline
The first two weeks determine offer velocity. A marketing plan that front-loads photography, MLS timing, paid promotion, and agent outreach materially changes how many showings and offers a listing generates in its critical early window.
- Days 1–2: Sign listing agreement; schedule photography, staging consult, and any pre-market repairs
- Days 3–5: Photography shoot; order floor plan and virtual tour if applicable
- Days 6–7: MLS go-live; launch paid social ads; send agent outreach email
- Days 8–10: Broker tour; collect and report showing feedback
- Days 11–14: Public open house; first performance report to seller (impressions, showings, traffic sources)
For luxury listings, the digital marketing intensity scales up: targeted social campaigns, influencer outreach, and private network previews replace or supplement the standard open-house model.
Metrics to promise and report
- MLS impressions and saves in the first 7 days
- Showing requests and confirmed showings
- Traffic sources (direct, social, portal)
- Offers received and terms summary
Promising specific metrics and then delivering a report against them is one of the fastest ways to generate referrals from sellers, even when the sale takes longer than expected.
What to do after the appointment: the follow-up checklist
Most listings are lost in the 48 hours after the appointment, not during it. A seller who did not sign at the table is not a lost cause. They are a follow-up problem.
Post-appointment checklist (if not signed at the table)
- Send a thank-you email within two hours of leaving. Keep it short: three sentences, a recap of the key pricing scenario you discussed, and a specific next step.
- Deliver an updated CMA within 24 hours, not 48. Waiting longer signals that the appointment was not a priority.
- Include a revised net sheet if the seller raised a price question you could not fully answer at the table.
- Follow up by phone on day three. Reference something specific from the conversation — their timeline, their destination, their concern about the market.
- Send a value-add email on day seven: a new comp that just closed, a showing report from a comparable listing, or a market update relevant to their neighborhood.
If the seller signs at the table
- Enter the listing into your CRM immediately with all key dates: photography, MLS go-live, open house, first price review.
- Send a welcome email within one hour confirming the timeline and next steps.
- Schedule the photography appointment before you leave the driveway.
- Set calendar reminders for every milestone in the 14-day launch plan.
- Activate your strategic follow-up sequence to keep the seller informed and engaged through the listing period.
The 48-hour rule applies to both directions: never let more than 48 hours pass without a touchpoint after the appointment, whether the seller signed or not. Sellers who feel forgotten after the meeting choose someone else.
How long should a listing presentation be?
Aim to cover the essentials in 30–45 minutes for a typical single-decision-maker appointment. Reserve up to 90 minutes for complex properties, multiple decision-makers, or sellers with prior bad experiences who need more discovery time.
The core part covers rapport and discovery, pricing narrative, and marketing plan plus close. Additional time can be added based on seller signals.
Watch for these cues that suggest slowing down and asking more questions rather than advancing the deck: the seller keeps returning to a specific price number, one decision-maker goes quiet, or the conversation shifts to a past negative experience with another agent. Those are not objections to overcome. They are discovery opportunities you have not finished yet.
The 2026 pricing narrative and automation workflow
The 2026 industry shift is clear: the agents winning listings are not the ones with the best slide decks. They are the ones who arrive with a pricing narrative, not a price, and a workflow that makes every step of the process feel effortless for the seller.
The three-scenario framework in practice
Leading with three pricing scenarios rather than a single CMA number does something a single number cannot: it gives the seller a decision to make instead of a number to accept or reject. Each scenario links to a specific DOM range, buyer pool, and risk profile. The seller chooses their risk tolerance; you execute the plan.
This approach also pre-answers the most common post-listing conflict: “Why haven’t we had any offers?” If the seller chose the aspirational scenario and you documented that conversation, the price reduction discussion is a planned checkpoint, not a failure.
A 9-step automation workflow for listing prep
Automating the prep workflow can cut assembly time dramatically while keeping the agent in final decision control. Here is the sequence:
- Lead enters CRM; trigger sends pre-listing questionnaire automatically
- Questionnaire responses populate a seller profile in the CRM
- CMA data pull initiated from MLS integration
- Pricing draft generated from comp data and seller inputs
- Net-proceeds sheet auto-populated with three scenarios
- Marketing plan template populated with property details and timeline
- Appointment confirmation sent with pre-listing packet attached
- Post-appointment follow-up sequence queued (thank-you, updated CMA, day-3 call reminder)
- Listing onboarding tasks triggered upon signature (photography scheduling, MLS entry, ad launch)
Pro Tip: Automation handles assembly. You handle judgment. Never let a system send a pricing scenario or a net sheet without reviewing it first. The workflow saves you two to three hours of prep; the review takes ten minutes. That is the trade.
Plo’s platform orchestrates this exact workflow, from the initial questionnaire through the post-appointment follow-up sequence, without removing your pricing judgment from the equation. Agents using automated prospecting and listing workflows consistently report more time for the high-value work: discovery, negotiation, and relationship building.
Key Takeaways
A listing presentation checklist wins listings by combining pre-listing intelligence, a three-scenario pricing narrative, and a 14-day launch plan that proves execution before the seller signs.
| Point | Details |
|---|---|
| Pre-listing intelligence | Pull permit history, MLS history, and 5–8 annotated comps the night before to pre-answer seller objections. |
| Three-scenario pricing narrative | Present aggressive, market-aligned, and aspirational scenarios with DOM ranges and appraisal risk language at every appointment. |
| 14-day launch plan | Front-load photography, MLS timing, paid ads, and agent outreach in the first two weeks to maximize offer velocity. |
| Follow-up within 48 hours | Send a thank-you and updated CMA within 24–48 hours; never let a non-signed seller go dark after the appointment. |
| Plo automates the workflow | Plo’s platform assembles the questionnaire, CMA, net sheet, and follow-up sequence so agents spend prep time on rapport and discovery. |
What experienced agents know that most checklists miss
There is a habit that separates agents who sign at the table from agents who follow up for two weeks hoping for a yes. It is not a better deck or a sharper close. It is the pre-filled listing agreement sitting on the table when the seller sits down.
That one gesture communicates more than any slide about your marketing plan. It says: I have already done the work. Signing is the natural next step, not a big decision. Sellers who see a completed agreement feel momentum, not pressure.
The practical habit to build today: block 15 minutes the night before every listing appointment, not for slide review, but for paperwork. Pre-fill every field you can from public records. Print it. Put it in your bag. Do that consistently and your same-day sign rate will change.
The agents who do this also tend to have fewer price reductions post-listing, because the discipline that produces a pre-filled agreement is the same discipline that produces an honest pricing conversation. Both require doing the work before you walk in the door.
Plo gives you the prep workflow without the manual assembly
Every step in this checklist, from the pre-listing questionnaire to the post-appointment follow-up sequence, takes real time to assemble manually. Plo is built for agents who want to run this process at scale without hiring a transaction coordinator for every listing.
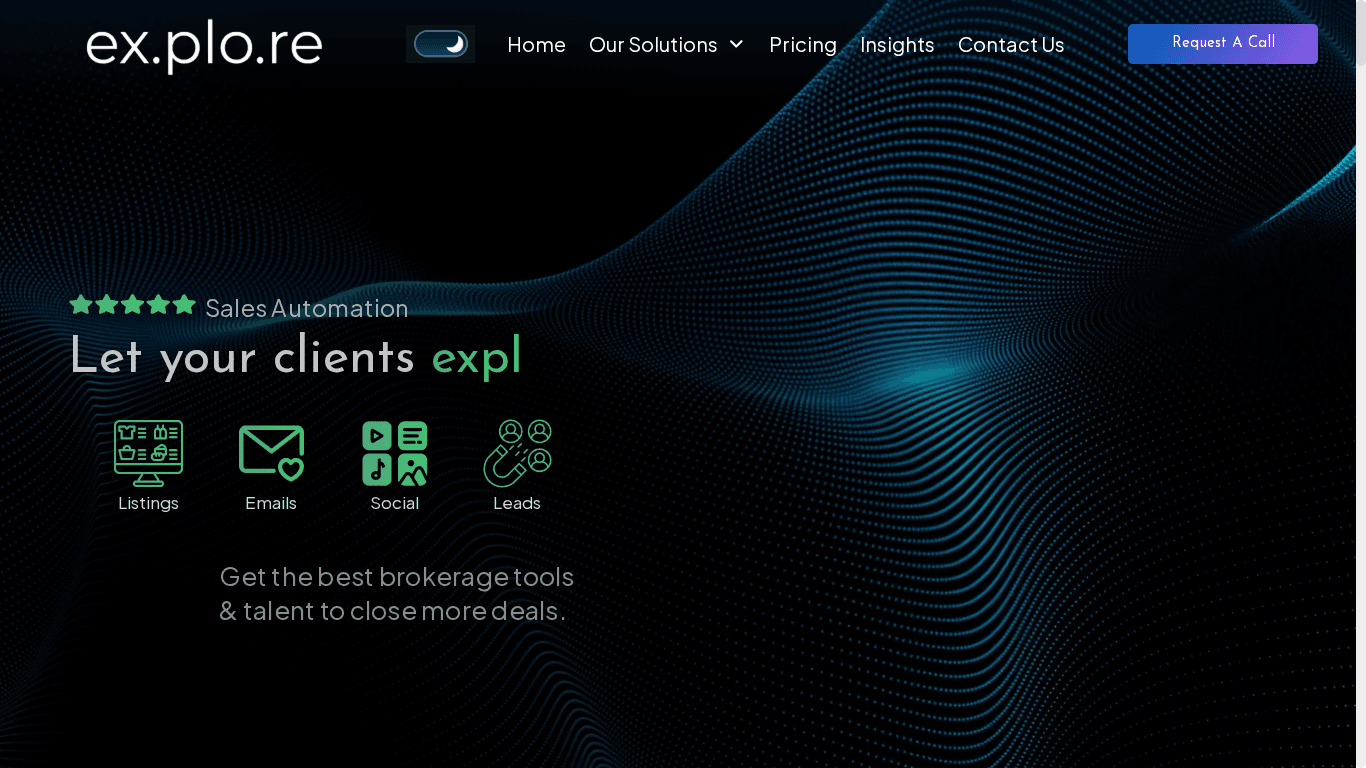
The platform handles the repetitive assembly: questionnaire delivery, CMA data pull, net sheet population, marketing plan templating, and follow-up queue activation. You review, adjust, and present. The result is a prep workflow that takes minutes instead of hours, a follow-up sequence that never drops a seller, and a listing launch calendar that runs on autopilot from signature to go-live.
Agents who want to scale their listing volume without scaling their admin load use Plo’s prospecting and listing automation tools to keep every appointment at the same standard, whether it is their third listing this month or their thirtieth. See how the workflow fits your practice at ex.plo.re.
Useful sources and further reading
These are the primary references used to build this checklist. Each one offers something specific.
- The Listing Presentation Checklist for 2026 | CMAGPT: The source for the three-scenario pricing narrative framework, appraisal risk language, and the 14-day launch plan. Use it for scripted pricing language and the 2026 industry framework overview.
- Listing Presentation Prep: The Night-Before and Morning-Of Checklist | Serif: Detailed guidance on building a pre-listing intelligence file, including permit history, MLS history, and the morning-of mock run-through recommendation. Best source for the prep checklist specifics.
- 9-Step Seller Listing Presentation Prep Checklist 2026 | US Tech Automations: The automation workflow reference. Use it to understand how to sequence the questionnaire, CMA, and follow-up steps in a CRM.
- The Ultimate Listing Appointment Checklist | HousingWire: Broad checklist coverage with scripts and conversation starters; useful for agents who want additional script variations and objection-handling language.
- Listing Presentation Guide 2026: Templates, Checklist & Scripts | HighNote: Templates and scripts for difficult moments including commission pushback and price objections; good companion resource for the role-play checklist.
- Perfecting Your Real Estate Listing Presentation | Matterport: Timing guidance for the 30–90 minute presentation window and advice on reading seller signals during the meeting.